DIY Concrete Repair: A Step-by-Step Guide for Barossa Homeowners


Understanding the Basics of Concrete Repair
Concrete is a durable and long-lasting material used in many homes throughout the Barossa region. However, over time, even the toughest concrete surfaces can crack or become damaged due to weather conditions, heavy use, or settling foundations. Fortunately, many common concrete issues can be addressed with some DIY skills and a bit of patience. In this guide, we'll walk you through the essential steps to repair concrete surfaces on your own.

Identifying the Type of Damage
Before starting any repair work, it's crucial to assess the damage. Is it a minor crack, a chip, or a more serious structural issue? For smaller cracks and chips, DIY repair is usually sufficient. However, for major structural problems, it's best to consult a professional. Understanding the extent of the damage will help you determine the materials and tools needed for the job.
Gathering Your Tools and Materials
Once you've identified the problem, gather the necessary tools and materials. For most concrete repairs, you will need:
- A chisel and hammer
- A wire brush
- Concrete mix or patching compound
- A trowel
- Water
Having all of your materials ready before you start will make the repair process smoother and more efficient.
Step-by-Step Repair Process
Preparing the Surface
Begin by cleaning the damaged area thoroughly. Use a wire brush to remove any loose debris, dirt, or old concrete. This step ensures that the new material will adhere properly to the existing surface. If you're dealing with a crack, use a chisel and hammer to widen it slightly, creating a V-shape. This helps the patching material fill the space more effectively.
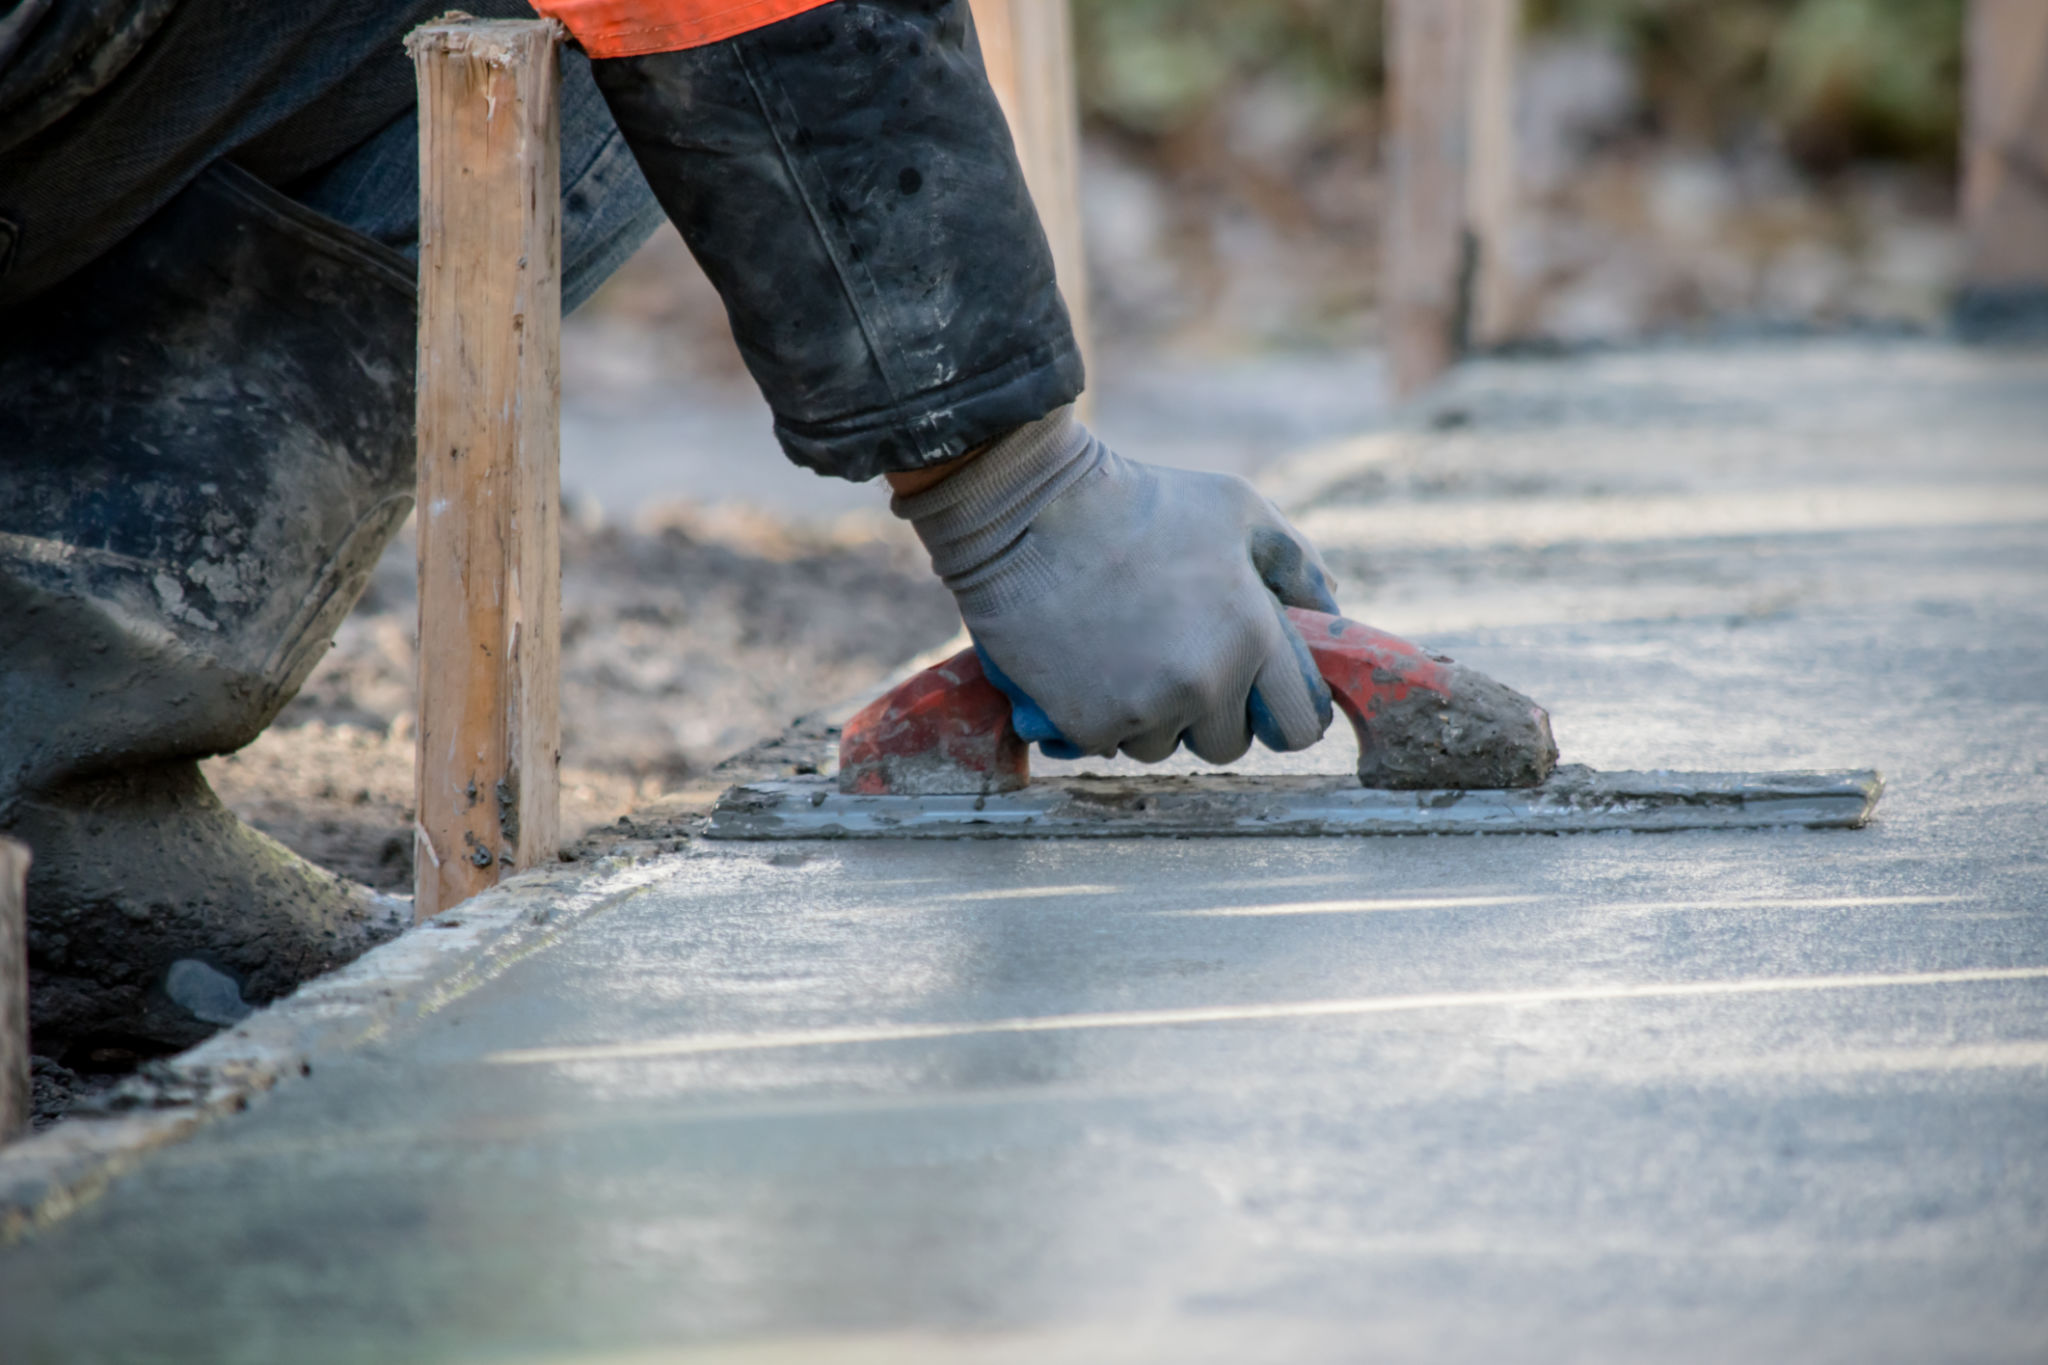
Mixing and Applying the Concrete
Next, prepare your concrete mix according to the manufacturer's instructions. It's essential to get the right consistency—neither too dry nor too runny. Apply the mixture to the prepared area using a trowel, pressing it firmly into the crack or chip. Smooth the surface with your trowel to ensure a level finish. Take your time with this step to achieve a seamless repair.

Curing and Finishing Touches
After applying the new concrete, allow it to cure properly. Curing times can vary based on temperature and humidity, but generally, you'll want to keep the area moist and covered for at least 24 hours. This prevents cracking as the concrete dries. Once cured, inspect your repair work. If necessary, sand down any rough edges or add a sealant for extra protection against future damage.
Maintaining Your Concrete Surfaces
Regular maintenance can prevent many concrete issues from arising in the first place. To keep your surfaces in top condition:
- Seal cracks as soon as they appear.
- Avoid harsh chemicals that may erode the surface.
- Consider applying a protective sealant annually.
By staying on top of these tasks, you can extend the life of your concrete surfaces significantly.
When to Call in Professionals
While DIY repairs are feasible for minor issues, some situations require professional intervention. If you're dealing with extensive damage or suspect underlying structural problems, it's wise to consult with an expert. A professional can provide a comprehensive assessment and recommend appropriate solutions.
In conclusion, tackling concrete repairs on your own can be a rewarding experience that saves you time and money. With the right tools, materials, and patience, Barossa homeowners can maintain their property's value and aesthetic appeal through effective DIY concrete repairs.