DIY Concrete Repair: Fixing Small Cracks and Imperfections


Understanding the Basics of Concrete Repair
Concrete is a durable and versatile material, but over time, it can develop small cracks and imperfections. These minor flaws can detract from the appearance of your concrete surfaces and, if left unattended, may lead to more significant issues. Thankfully, DIY concrete repair is a straightforward process that can restore the look and integrity of your surfaces without requiring professional assistance.
Tools and Materials You'll Need
Before you start repairing concrete cracks, gather the necessary tools and materials. Having everything ready will make the process smoother and more efficient. Here’s a list of common items you'll need:
- Concrete patching compound
- Wire brush
- Chisel and hammer
- Trowel
- Caulking gun (if using a sealant tube)
- Protective gloves and goggles
Ensure you select a patching compound suitable for the specific type of concrete you're working with. Some compounds are designed for interior use, while others are formulated for outdoor conditions.
Preparing the Surface
Proper surface preparation is critical for a successful repair. Begin by cleaning the area around the crack to remove any dirt, debris, or loose concrete. Use a wire brush to scrub the surface thoroughly. For stubborn debris, a chisel and hammer can help dislodge pieces lodged in the crack.
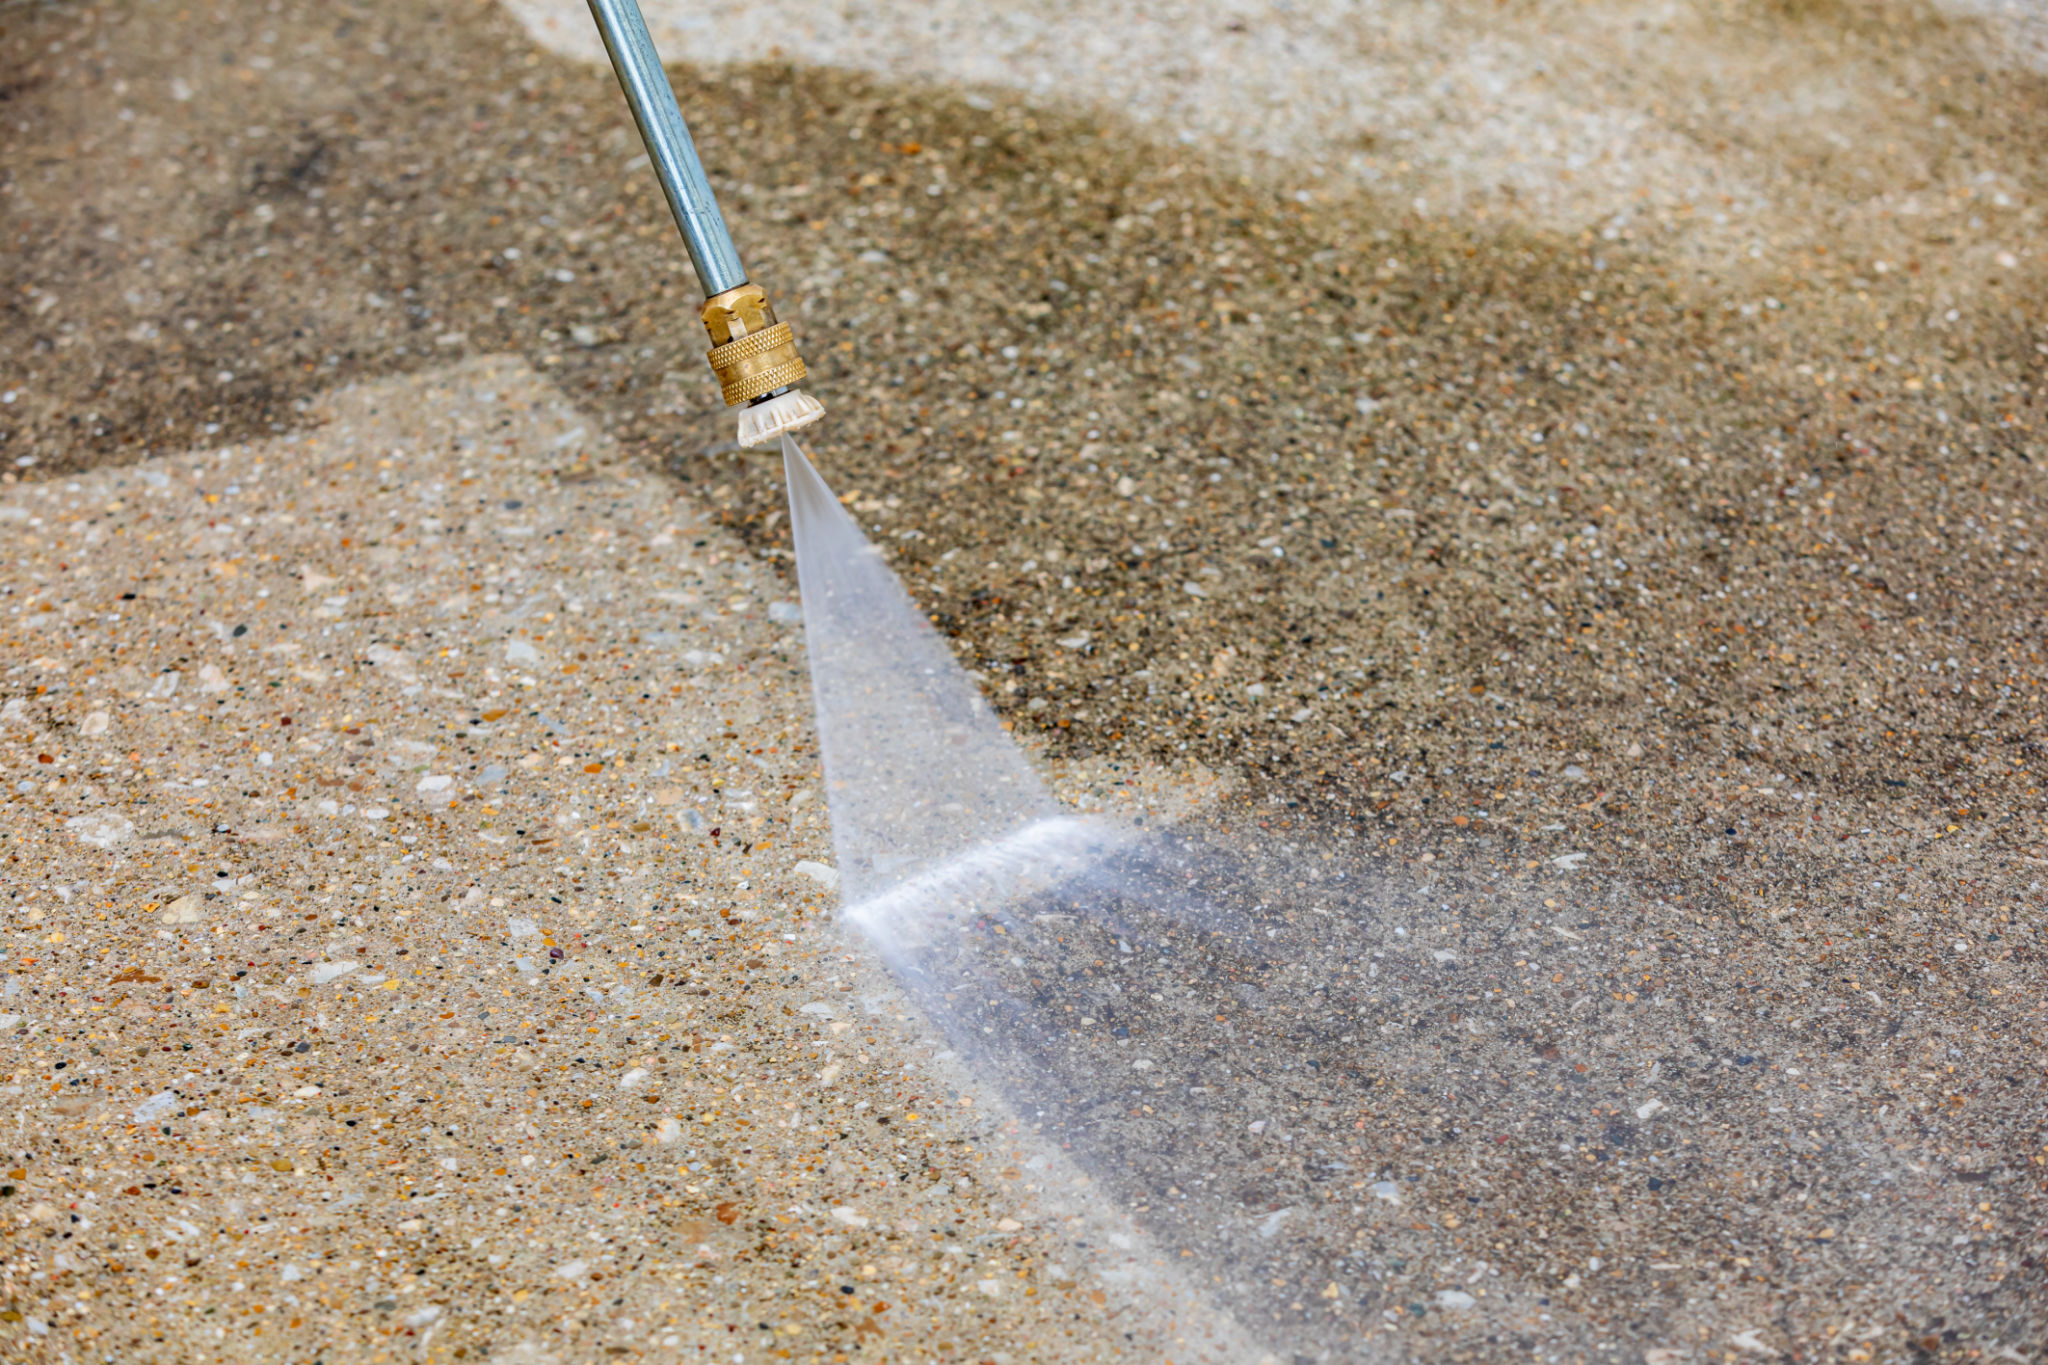
Once cleaned, rinse the area with water and let it dry completely. If moisture remains, it might impede the adhesion of the patching compound, leading to an ineffective repair.
Filling Small Cracks
With the surface prepared, it's time to fill the cracks. Follow these steps to ensure a lasting repair:
- Mix the patching compound: Follow the manufacturer's instructions to achieve the right consistency.
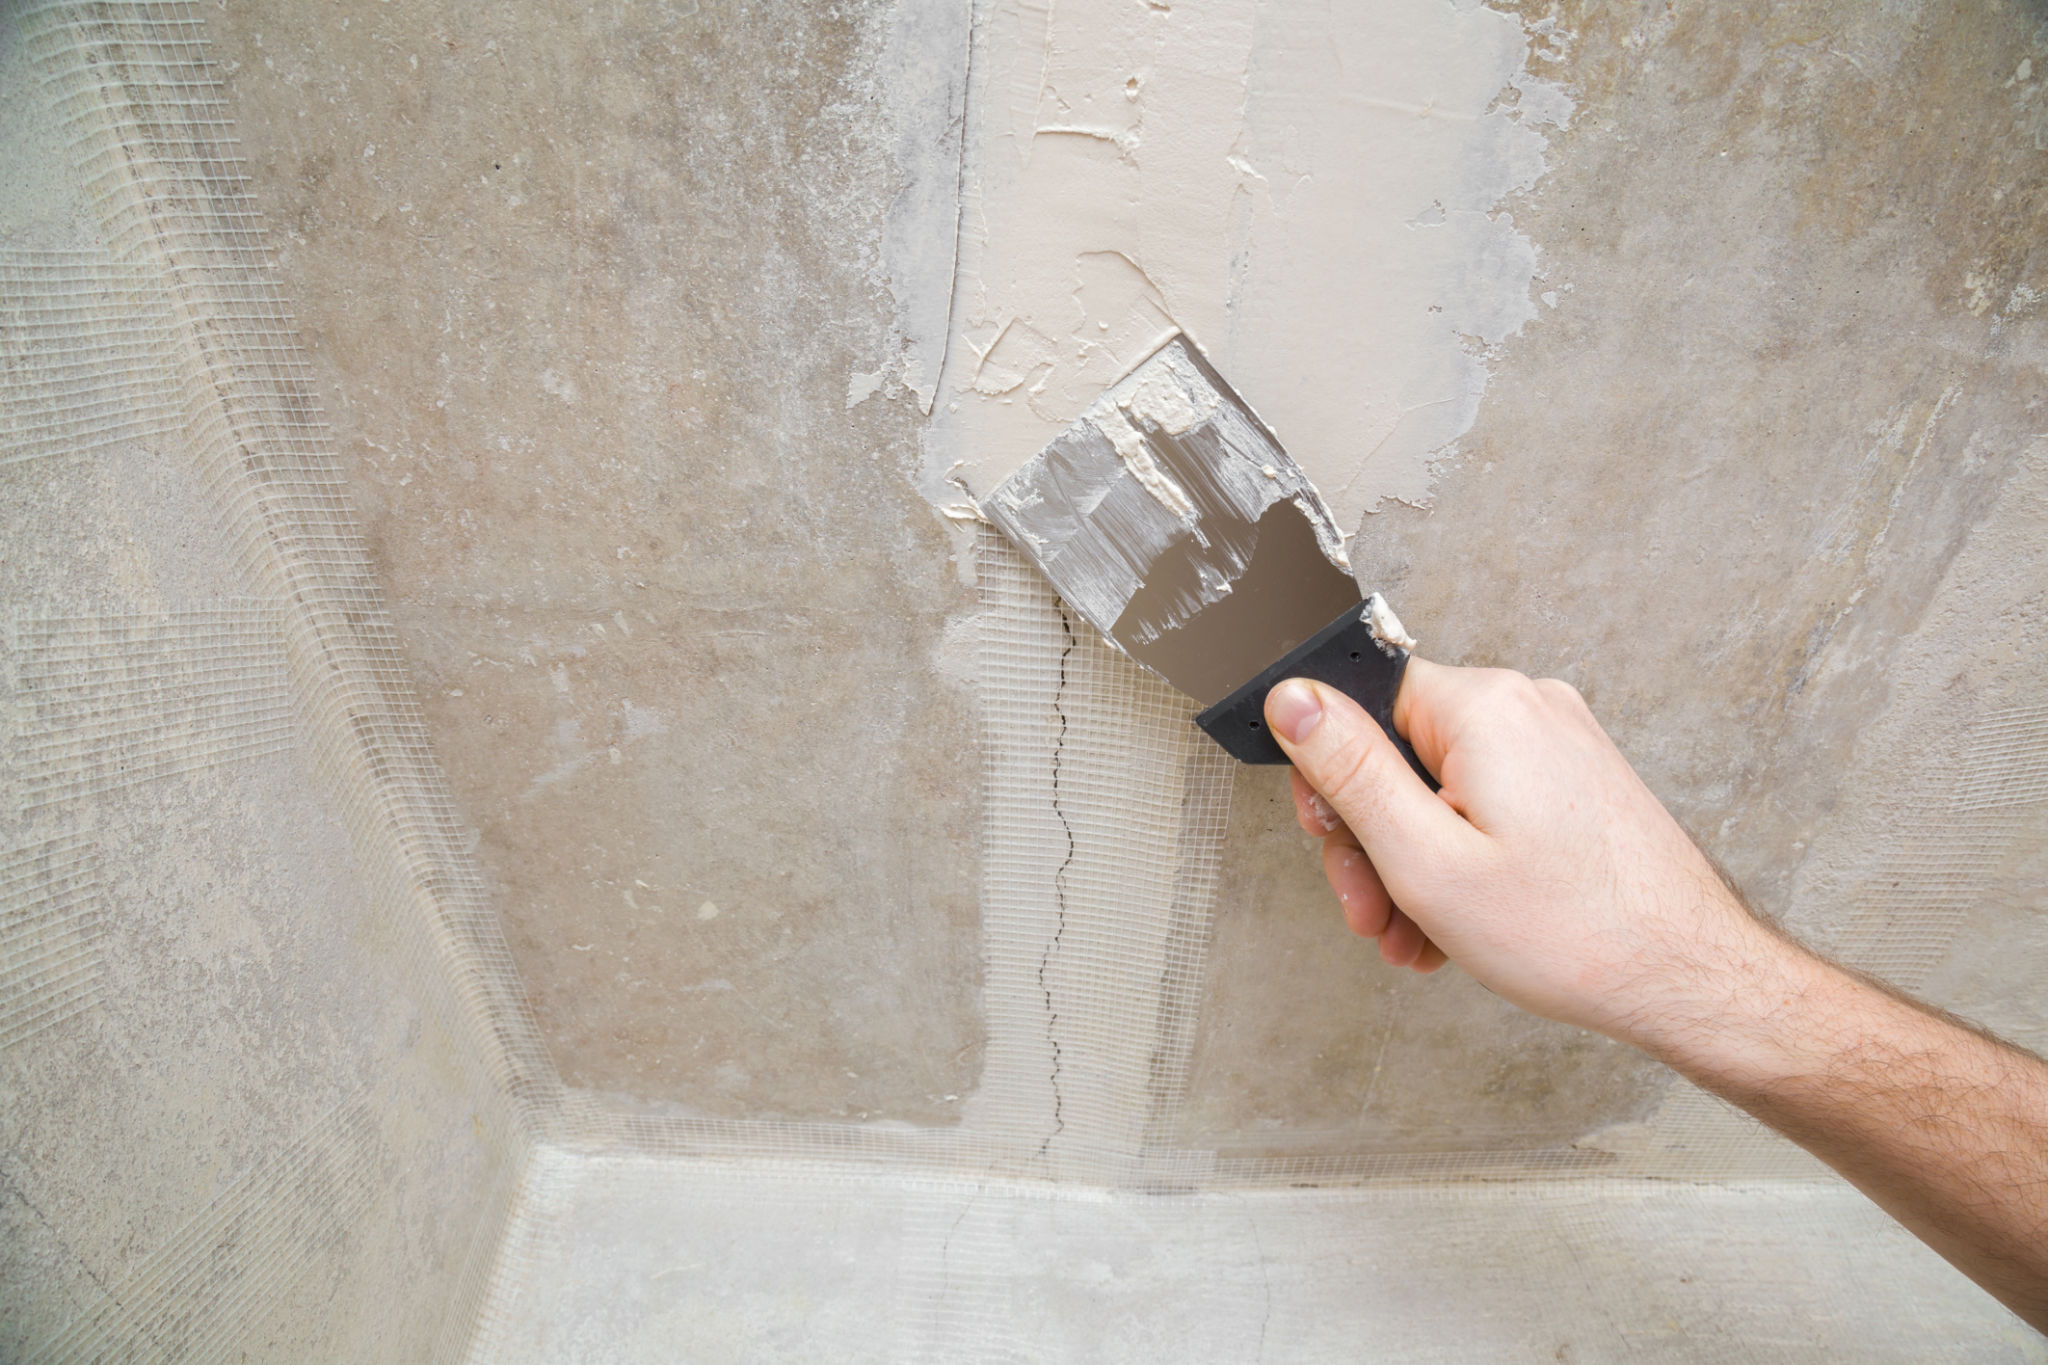
- Apply the compound: Use a trowel to press the compound into the crack, ensuring it's filled thoroughly.
- Smooth the surface: Once filled, smooth out the surface of the patch with the trowel to match the surrounding concrete.
Allow the compound to dry according to the product's instructions before proceeding with any further work on the area.
Addressing Surface Imperfections
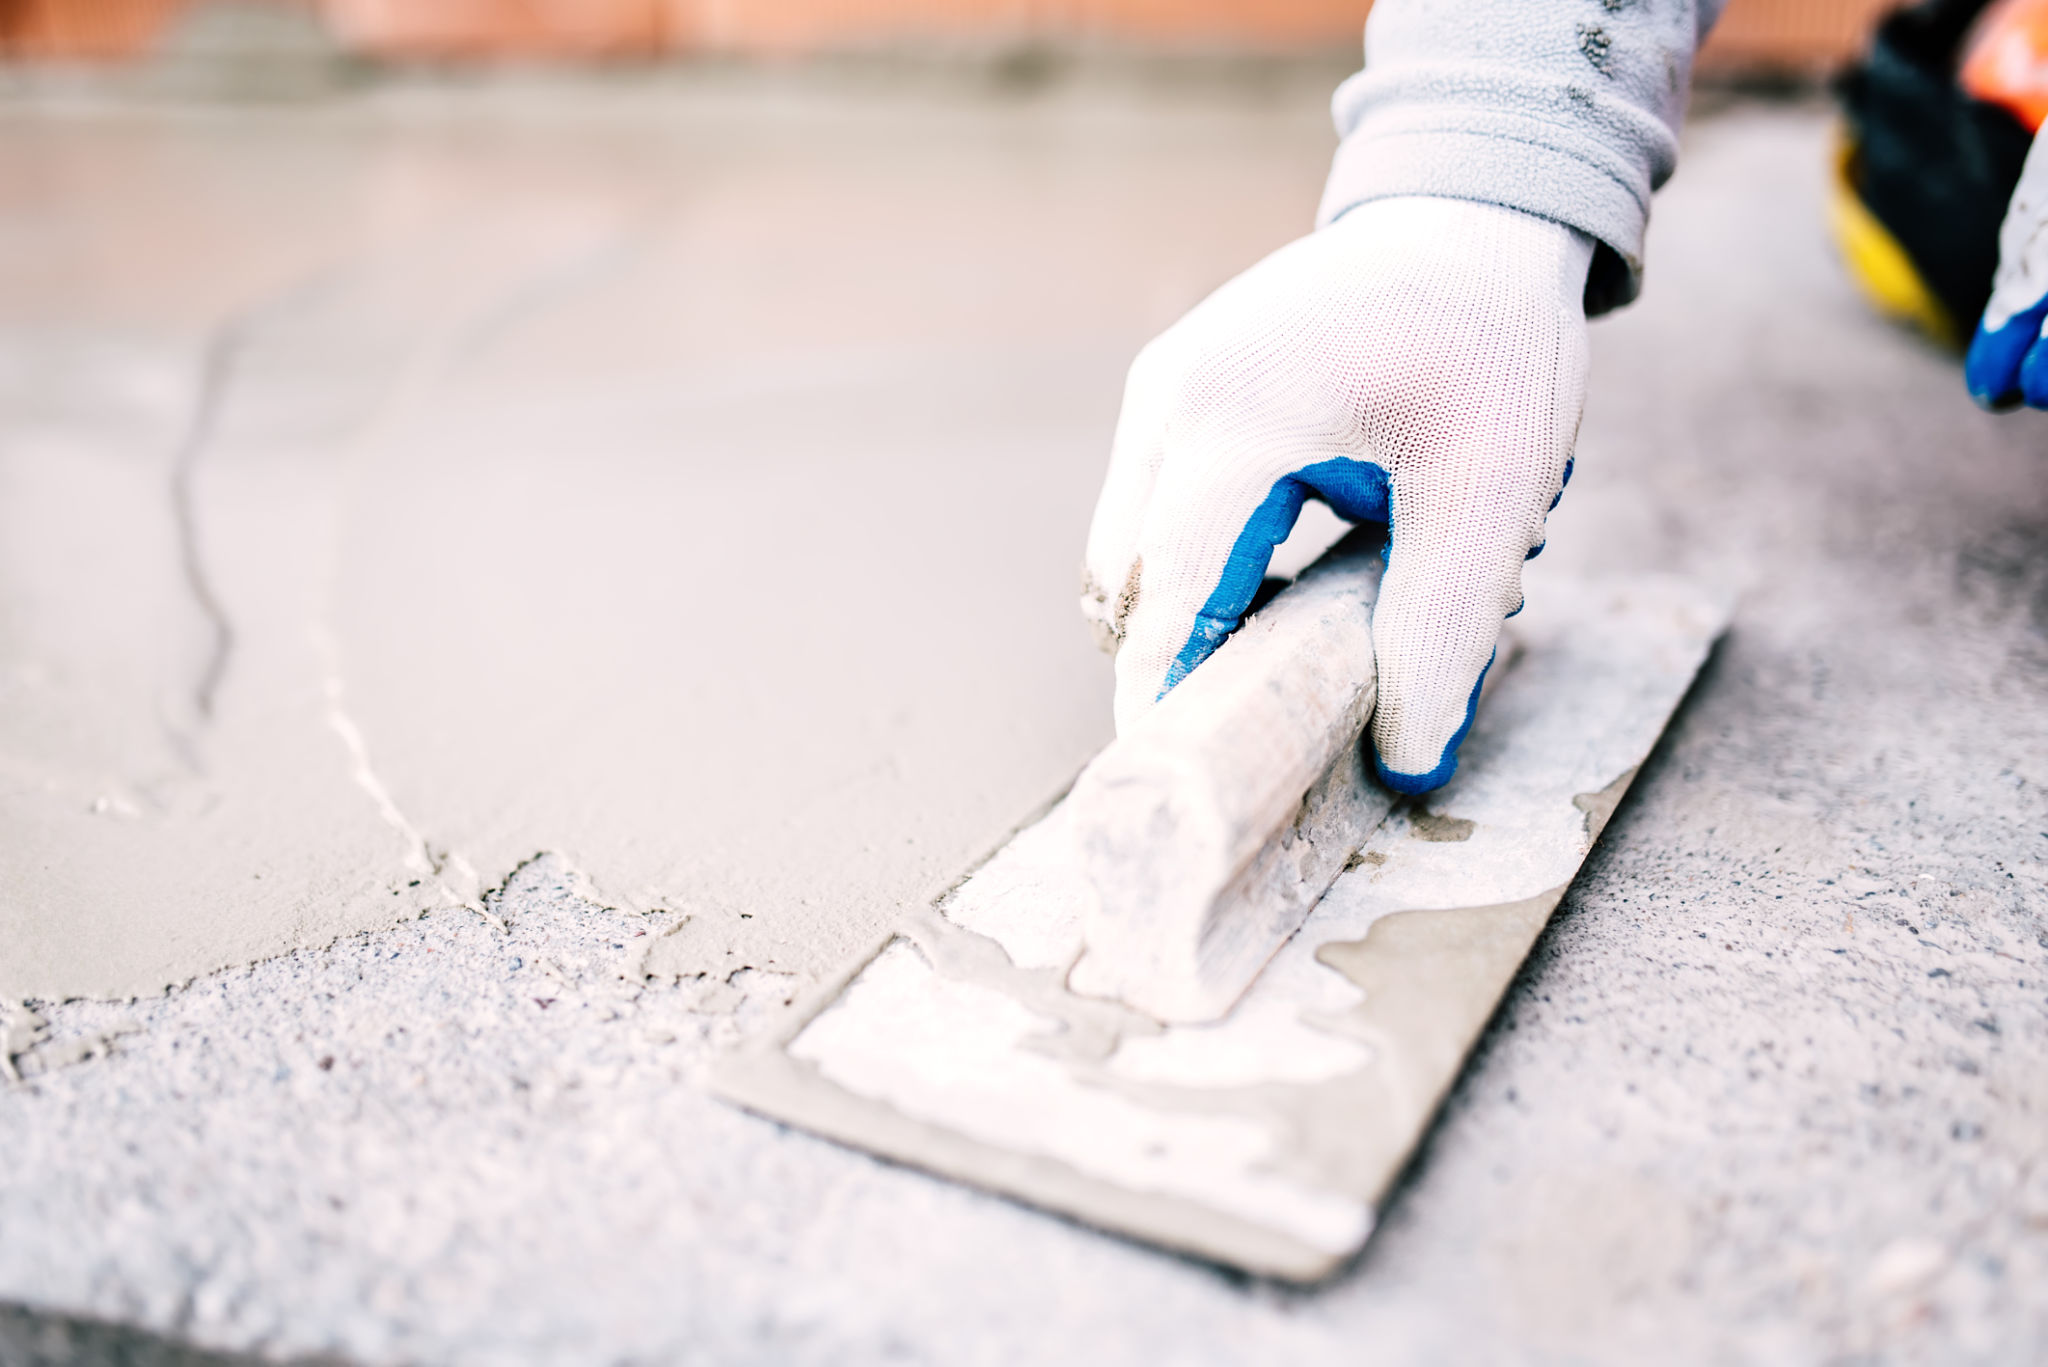
For superficial imperfections or spalling (flaking), a thin layer of resurfacer can be applied over the entire area. This not only covers blemishes but also gives an even appearance to your concrete surface.
Mix the resurfacer as per instructions and pour it over the surface. Use a trowel or squeegee to spread it evenly. Be sure to work quickly, as resurfacers typically have a short working time before they begin to set.
Finishing Touches and Maintenance
Once your repairs are complete and fully cured, consider applying a concrete sealant. Sealants protect against moisture penetration and can prevent future cracking or damage.

Regular maintenance is key to prolonging the life of your concrete surfaces. Keep them clean, address minor damages promptly, and reseal as needed to maintain their appearance and durability.
Conclusion
DIY concrete repair is an accessible task that can greatly improve both the aesthetics and longevity of your concrete surfaces. By following these steps and using appropriate materials, you can effectively fix small cracks and imperfections on your own. Regular upkeep will ensure your surfaces remain in good condition for years to come.